Stop Ice Overload: Testing the Defrost Heater, Thermostat, and Timer
Introduction
Finding a massive, thick sheet of ice on your freezer floor or discovering the evaporator coils are completely encased in ice is a clear sign of a problem. This is a classic symptom of a failed automatic defrost system. This isn’t normal frost—it indicates a failure of your refrigerator’s automatic defrost cycle. This excessive ice buildup can block critical airflow, leading to a common symptom: the freezer stays cold, but the refrigerator section begins to warm up, putting your food at risk.
This guide will walk you through troubleshooting the three main electrical components of most defrost systems: the defrost heater, the defrost thermostat, and the defrost timer or control board. By systematically testing each part, you can accurately diagnose and fix the problem.
1. Initial Diagnosis: Where is the Ice Coming From?
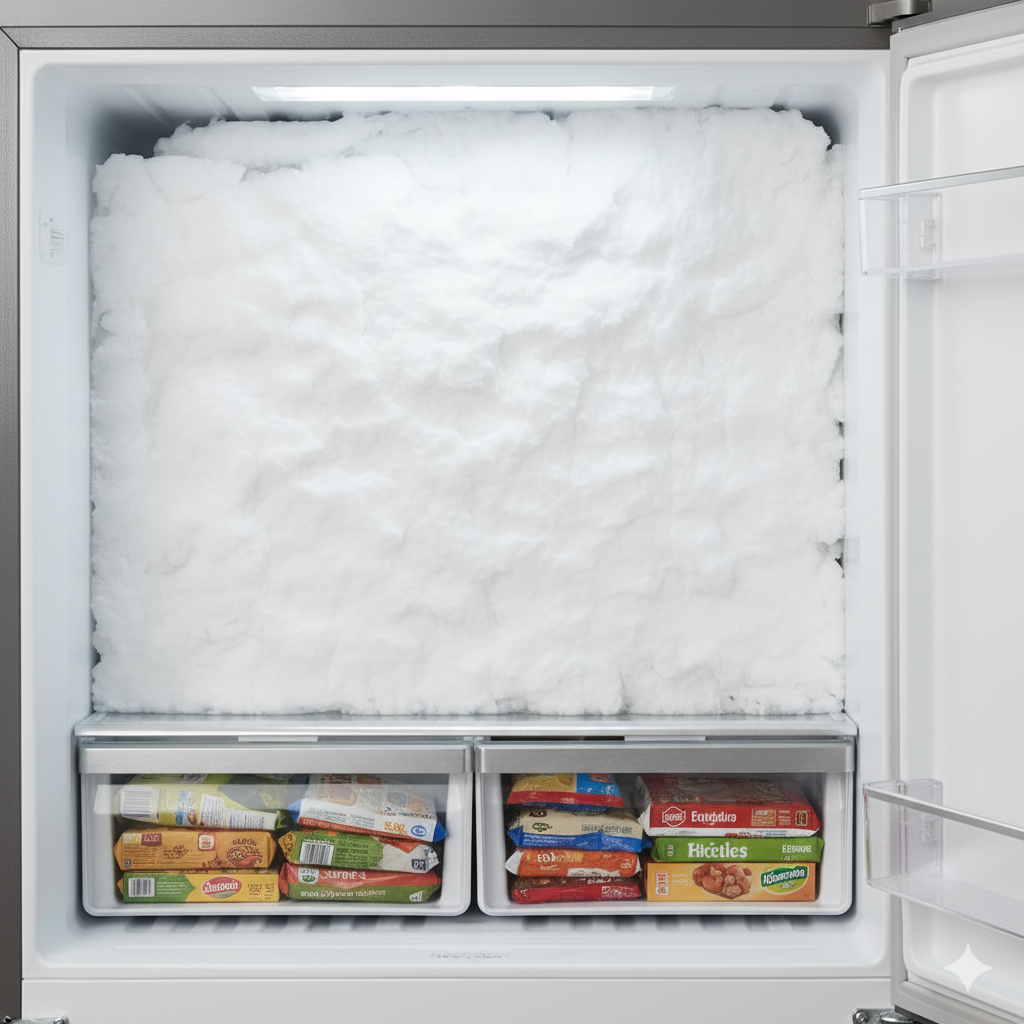
A solid block of ice covering the rear coils confirms a defrost system failure. A thick sheet of ice on the floor, however, suggests a clogged drain tube.
Before testing electrical components, identify the location and type of ice buildup. This initial step can often point directly to the cause of the problem.
| Ice Location & Type | Likely Cause | Initial Action |
| A thin, even layer of frost covering the evaporator coils | Defrost System Failure | Proceed to Step 2 to begin testing the electrical components. |
| A thick sheet of ice on the freezer floor or bottom | Clogged Defrost Drain Tube | Unplug the fridge and clear the drain tube with hot water. |
| Ice forming around the door edge | Faulty Door Gasket/Seal | Clean and inspect the gasket. Warm, moist air is entering the freezer. Replace the gasket if it is torn or brittle. |
If the drain tube is clogged, melted frost has nowhere to go and refreezes on the freezer floor.
2. Preparing for the Repair: Tools and Access
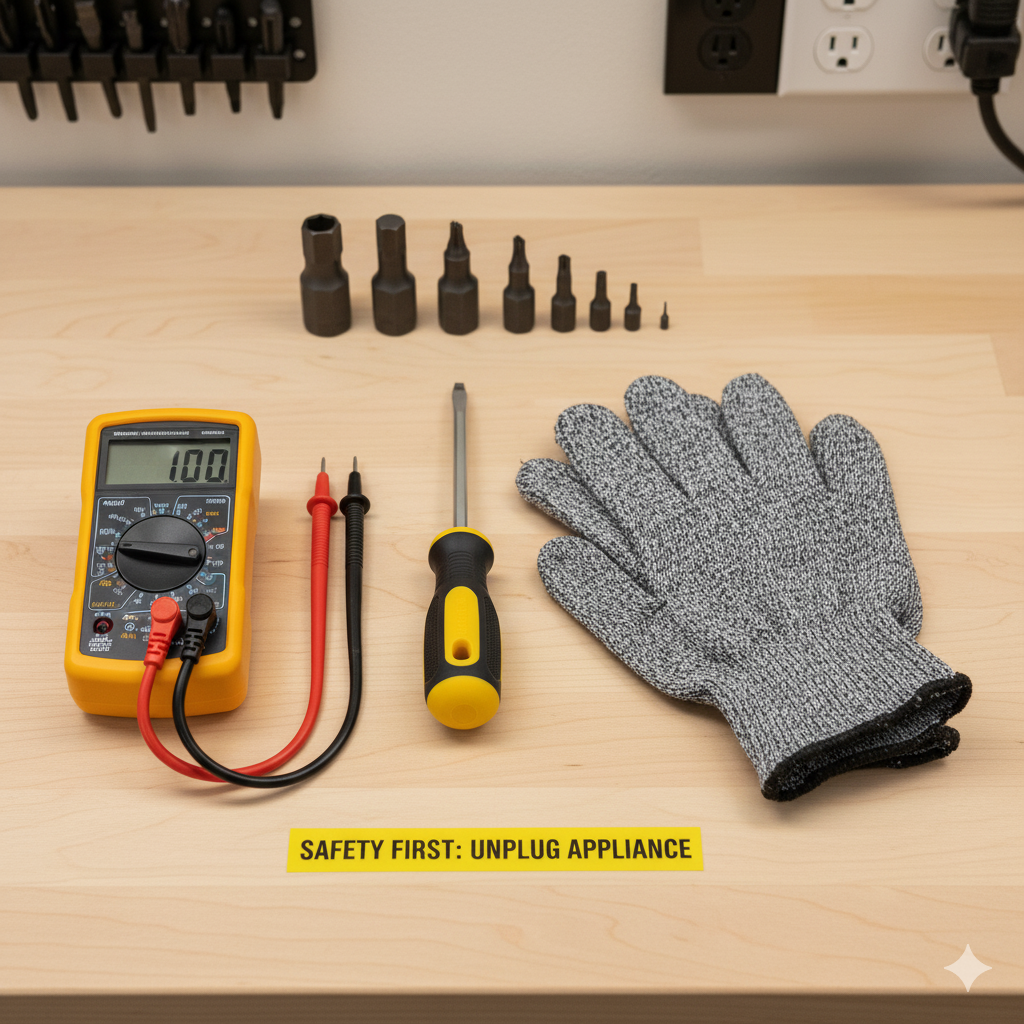
Always unplug the refrigerator before starting. You’ll need a multimeter and standard hand tools to access the rear freezer panel.
2.1. Required Tools and Safety Precautions
- Safety First: Always unplug the refrigerator from the wall to disconnect the power before beginning any work.
- Multimeter (with ohms/resistance setting)
- Screwdriver or nut driver (typically 1/4-inch)
- Cut-resistant gloves (as evaporator fins are sharp)
- Hair dryer or heat gun (optional, for melting heavy ice)
- Towels
2.2. Accessing the Defrost Components
- The defrost components are located behind the rear interior panel of the freezer. Remove all shelves and food, then unscrew and remove this panel to expose the evaporator coils.
- If the panel is frozen in place by heavy ice buildup, you can use a hair dryer or a heat gun on a low heat setting to melt the ice along the panel’s edges.
- Warning: Be extremely careful not to overheat the interior or get too close to the coils. The plastic liner can melt or warp easily, and puncturing the evaporator coils will cause the refrigerant to leak, requiring an expensive professional repair.
- Once the panel is off, you will see the evaporator coils. A light, even layer of frost is normal. A coil completely encased in a solid block of ice is a clear sign of a defrost system failure.
3. Step-by-Step Component Testing
Follow these steps in order, starting with the defrost heater. It is the most common point of failure and its test results help inform the subsequent steps.
3.1. Step A: Test the Defrost Heater
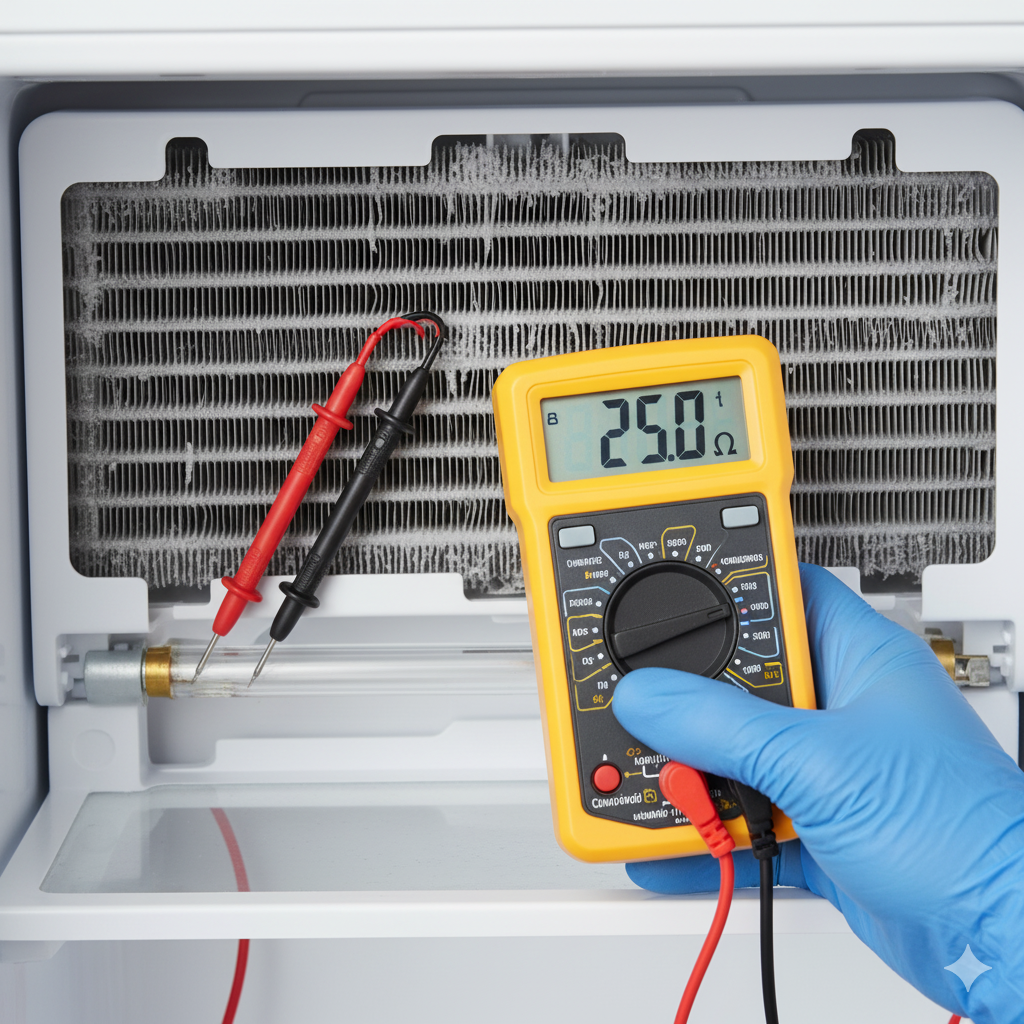
Test the defrost heater for resistance ($Omega$). If the meter reads O.L. (open loop), the heater is broken and needs immediate replacement.
- Purpose: The defrost heater is an element that warms up periodically to melt accumulated frost off the evaporator coils. If it fails, ice will build up without interruption.
- Location: Look for a thin metal rod or a glass-encased tube located beneath or woven along the evaporator coils. Note that on some models, the defrost thermostat is integrated directly into the heater assembly as a single, replaceable part. If you don’t see a separate cylindrical component clipped to the coils, you may have one of these combination units.
- Test Procedure:
- Confirm the refrigerator is unplugged.
- Locate the heater and gently unplug its two wire connectors to isolate it from the rest of the system.
- Set your multimeter to the resistance (Ω) setting. Do not use the audible continuity (beep) mode. Many good heaters have a resistance value too high for the continuity setting to register, which could lead you to incorrectly diagnose a working part as faulty.
- Place one multimeter probe on each of the heater’s terminals.
- Interpreting the Results:
- A working heater will show a resistance reading. The reading will vary by model, but it should typically be between 10 and 150 ohms. For instance, some GE models read around 22 ohms, while many others are in the 20-100 ohm range.
- If your multimeter shows ‘OL’ (open loop) or an infinite reading, the heater is faulty and must be replaced.
3.2. Step B: Test the Defrost Thermostat (Bi-Metal)
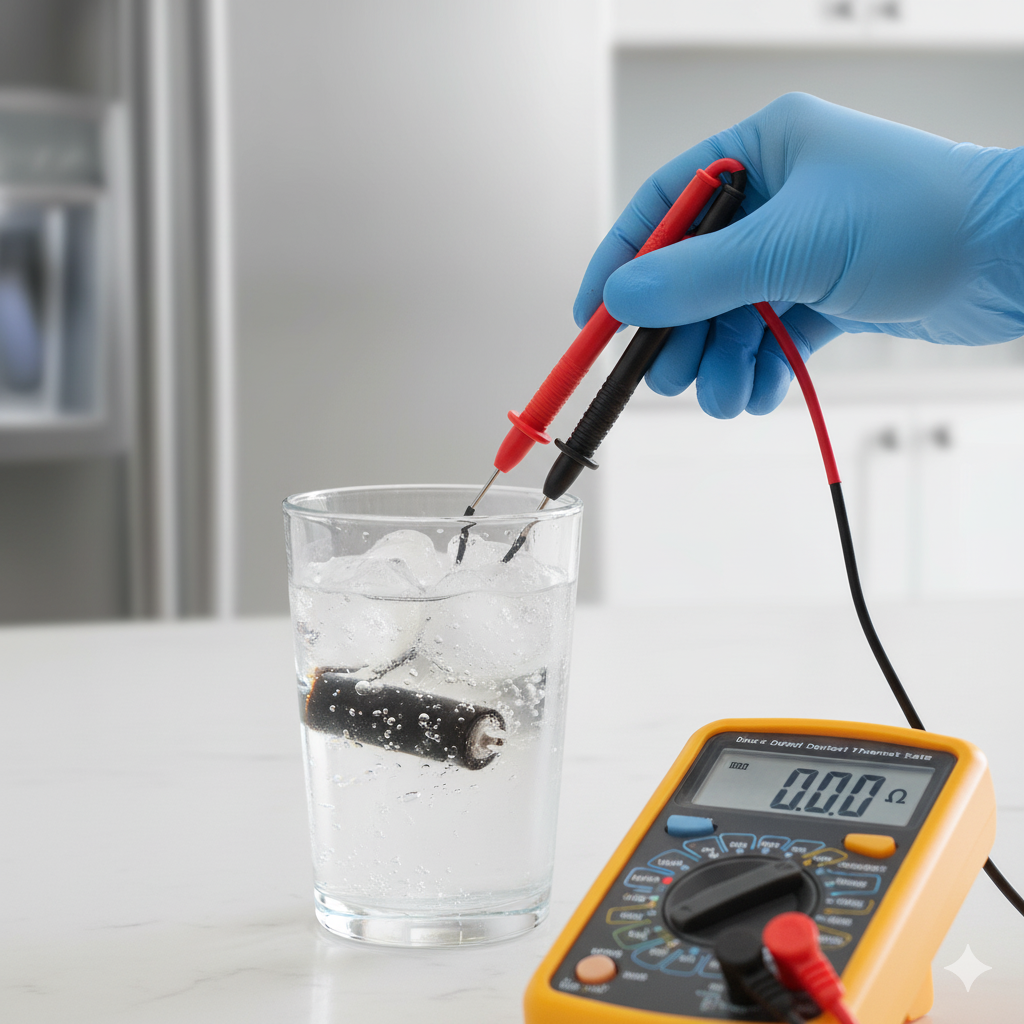
The defrost thermostat only allows current when it’s freezing cold. It must show continuity when placed in ice water and salt to pass the test.
- Purpose: The defrost thermostat is a safety switch clipped directly onto the evaporator coil piping. It is designed to close the circuit (allowing the heater to turn on) only when the coils are cold. It opens the circuit when the temperature rises, turning the heater off to prevent the freezer from overheating.
- Location: This is a small, cylindrical component clipped onto the evaporator tubing. Many defrost thermostats have temperature ratings stamped on them, like ‘L55-35F’. This indicates the circuit opens (Limit) at 55°F and closes at 20°F (55 minus 35). Knowing this can help you verify you have the correct replacement part.
- Test Procedure: This is a two-part test.
- Test 1: Room Temperature
- With the thermostat at room temperature, set your multimeter to ohms (Ω) and test its terminals. It should show no continuity (“OL”). The circuit should be open.
- Test 2: Cold Temperature
- Place the disconnected thermostat in a glass of ice water. Crucially, add a generous amount of salt. As explained by repair experts, ice water alone may not be cold enough to close the contacts on many thermostats. Salt lowers the water’s freezing point, ensuring the test is definitive (around -6°C or 20°F). Let it sit for a few minutes.
- While the thermostat is cold, test it again with the multimeter. It should now show continuity (a reading between 0 and 1 ohm). The circuit should be closed.
- Test 1: Room Temperature
- Interpreting the Results:
- If the thermostat fails either the room temperature test (shows continuity when warm) or the cold test (does not show continuity when cold), it is faulty and must be replaced.
- Also, visually inspect the thermostat. If the top appears raised up or bulging, it should be replaced even if it passes the continuity tests, as this indicates moisture has gotten inside and damaged it.
3.3. Step C: Check the Defrost Timer or Control Board
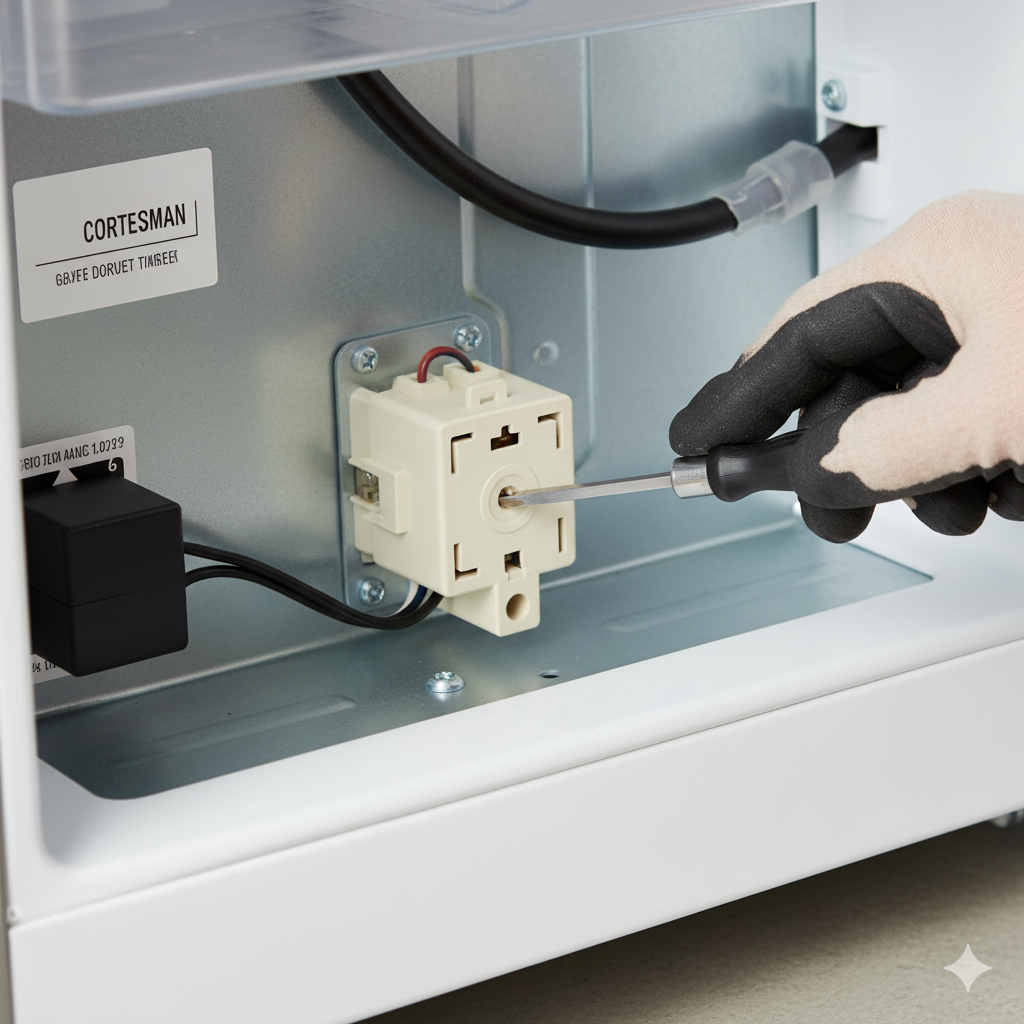
If your model uses a mechanical timer, manually turning the screw until you hear a “click” forces the defrost cycle to start, bypassing the faulty timer motor.
- Purpose: If both the defrost heater and thermostat test good, the problem is likely that the control mechanism isn’t signaling the defrost cycle to start. This control is either a mechanical timer or an electronic control board.
For Models with a Mechanical Defrost Timer:
- Location: The timer is often found in the control module inside the refrigerator (near the temperature controls), behind the kick plate at the bottom of the unit, or near the compressor in the back.
- Manual Test: Locate the timer’s advancement screw. Using a flat blade screwdriver, slowly turn the screw clockwise until you hear a loud “click.” This action manually forces the refrigerator into the defrost cycle.
- Result: Wait a few minutes. If the heater begins to warm up (you may hear a faint sizzle), this confirms the heater and thermostat are working correctly. The problem is that the timer’s motor is faulty and not advancing on its own. The entire defrost timer must be replaced.
- Multimeter Test (Advanced): To confirm a bad timer, unplug it and check for continuity. When the timer is in its long cooling mode, you should have continuity between terminals 1 and 4. After clicking it into the short defrost mode, continuity should switch to terminals 1 and 2.
For Models with an Electronic Control Board:
- Diagnosis: Modern refrigerators often use an electronic control board to manage an ‘adaptive defrost’ system. Unlike older timers that run on a fixed schedule, this system monitors factors like door opening frequency and duration to run the defrost cycle only when necessary, saving energy.
- Result: If the defrost heater and defrost thermostat (and the defrost sensor, if your model has one) have all tested good, the electronic control board has likely failed.
- Conclusion: The board itself cannot be easily tested by a DIYer without specialized knowledge. This is a complex, expensive repair often best handled by a professional technician.
4. Conclusion and Next Steps
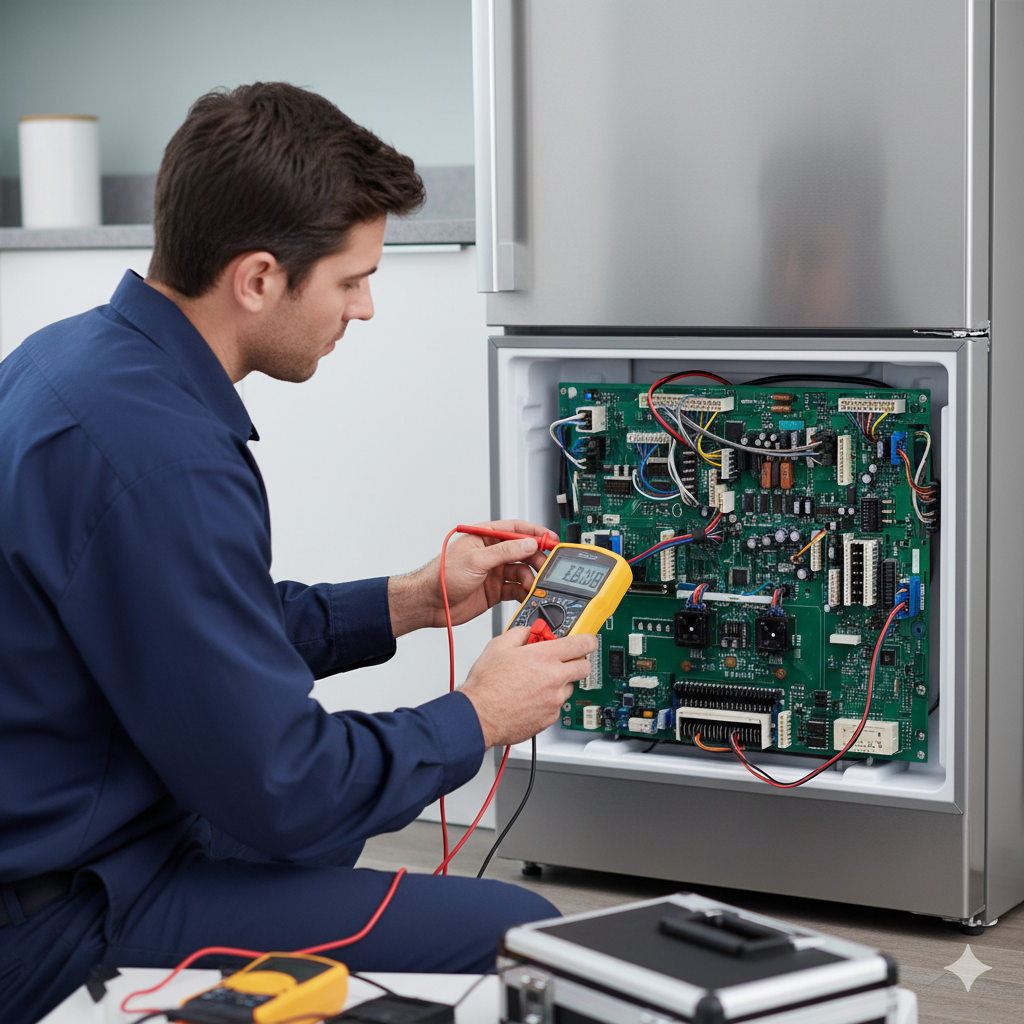
If all components test good, the failure is the expensive electronic control board. At this point, calling a professional technician is strongly recommended.
A failed defrost system is a common issue that can almost always be diagnosed by systematically testing the heater, thermostat, and timer/board in that order. These tests are straightforward but require you to be comfortable and safe while using a multimeter on electrical components.
When to Call a Professional
It is advisable to call a certified appliance technician if:
- You are uncomfortable performing electrical tests with a multimeter.
- All individual defrost components test good, which strongly indicates a failed electronic control board.
- You accidentally damage the sealed refrigerant system (the evaporator coils or connecting tubes).
Need expert service for freezer ice buildup or other refrigerator repairs in the Brookhaven area and other cities within our Dekalb County Community Service Area:?
Dealing with the defrost system involves specific electrical component testing. If you are uncomfortable with multimeter testing, our certified technicians can quickly diagnose and resolve your ice issue, saving your freezer and your food.
| Decatur | Tucker | Doraville | North Druid Hills |
| Druid Hills | Candler-McAfee | Gresham Park | Dunwoody |
| North Decatur | Belvedere Park | Redan | Panthersville |
| Scottdale | Chamblee | Brookhaven | Clarkston |
| Stone Mountain |
